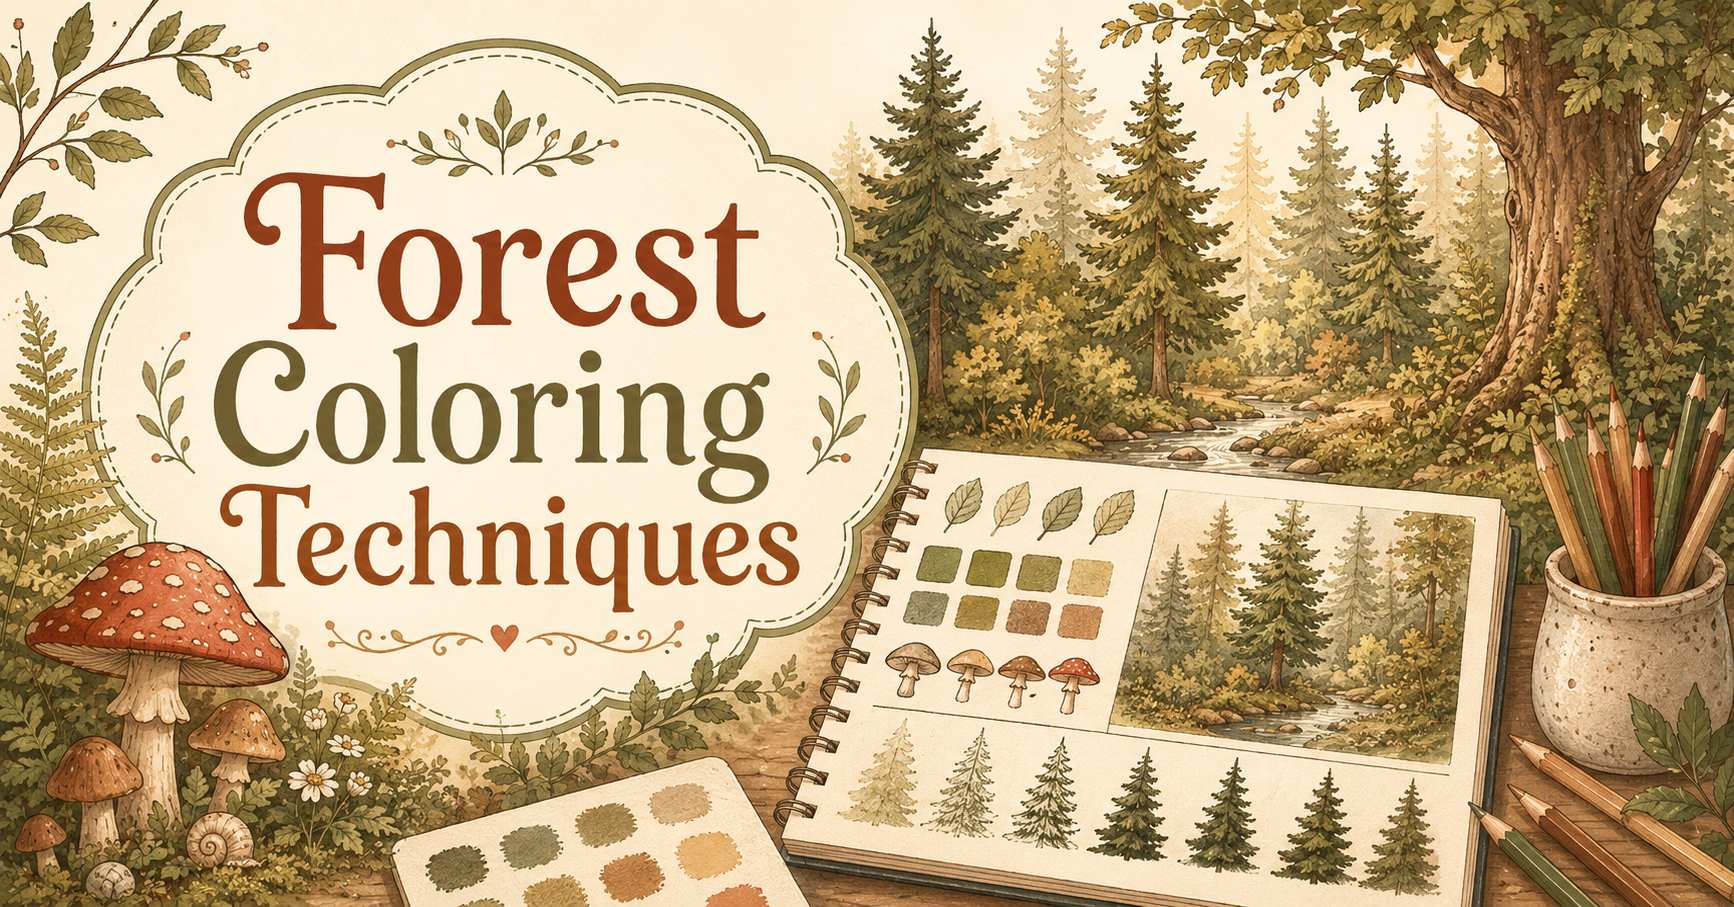
A forest coloring page may contain dozens of small natural details.
Ferns overlap stones. Moss covers old logs. Mushrooms grow beside twisting roots. Flowers appear between leaves, while a path disappears deeper into the woods.
Ferns overlap stones. Moss covers old logs. Mushrooms grow beside twisting roots. Flowers appear between leaves, while a path disappears deeper into the woods.
Coloring every plant the same green and every piece of wood the same brown can make the scene feel flat. Fortunately, creating a richer forest does not require an enormous supply collection.
A few coordinated greens, browns, grays, and accent colors can create plenty of depth.
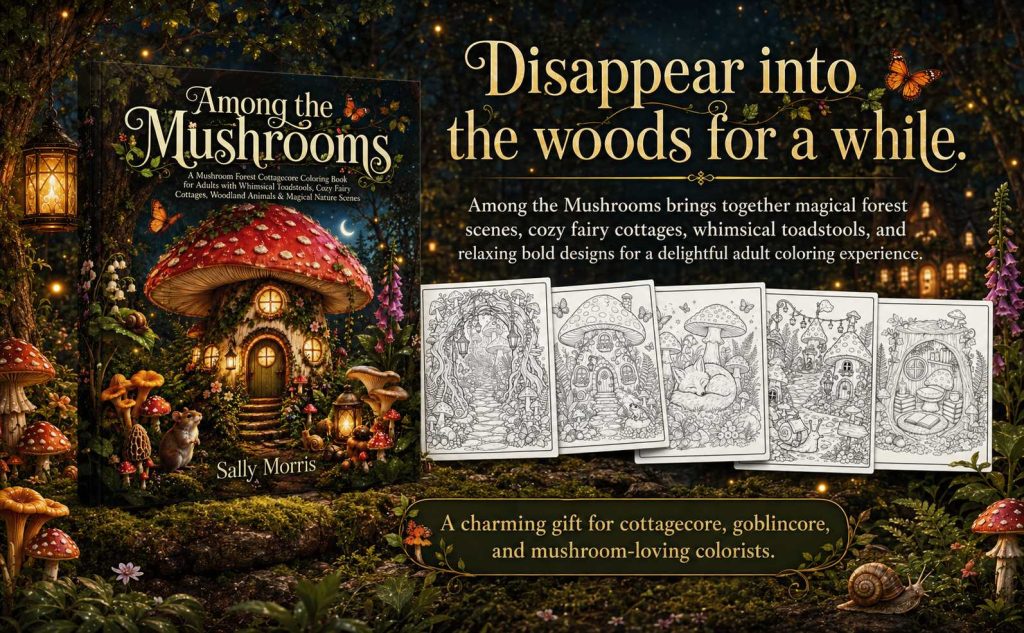
The pages shown in this guide come from Among the Mushrooms, a cottagecore mushroom forest coloring book by Sally Morris. The book includes 50 single-sided scenes featuring mushroom cottages, woodland animals, lantern paths, ferns, flowers, moss, ponds, stones, old trees, and magical forest details.
Here are simple forest coloring techniques you can use with colored pencils, markers, or gel pens.
1. Build the Forest With Several Greens
Using only one green across an entire forest can make different plants blend together.
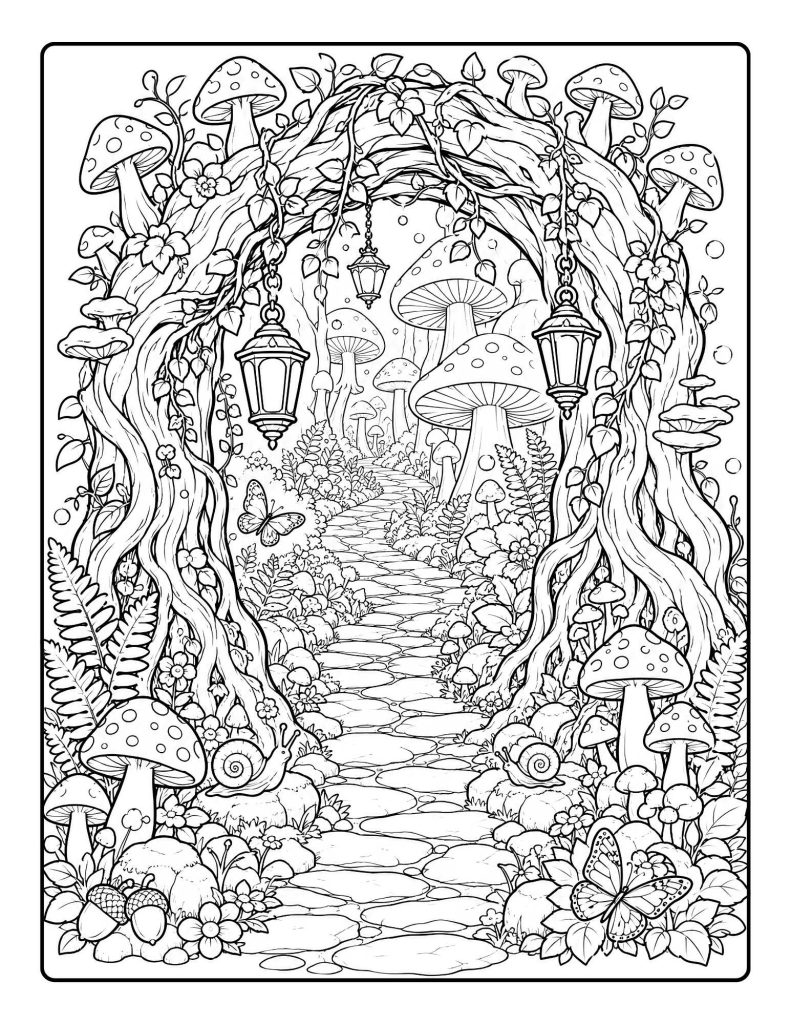
A basic woodland palette can include:
- pale yellow-green
- soft sage
- medium fern green
- olive green
- dark forest green
You do not need to use every shade on every plant.
Try assigning different greens to different groups:
- sage for soft ground plants
- fern green for large fern leaves
- olive for moss and ivy
- forest green for deep shadows
- yellow-green for new growth and highlights
Repeat each shade in several parts of the page to keep the forest coordinated.
2. Color Ferns One Leaf at a Time
Ferns contain many small leaves, but they do not need to be individually blended in a complicated way.
Begin with a light green base.
Add darker color:
- near the center stem
- at the base of each small leaf
- beneath overlapping leaves
- on the side facing away from the light
Leave the tips slightly lighter.
You can alternate between two greens on nearby ferns. One plant might be sage and olive, while another uses fern green and dark forest green.
For an autumn forest, mix olive, mustard yellow, rust, and muted brown.
3. Color Soft Moss Without Making It Flat
Moss grows in uneven clusters rather than smooth, solid shapes.
Use small circular strokes, dots, short curves, or light tapping motions.

Begin with a pale yellow-green or sage base.
Add:
- olive in the middle areas
- dark green beneath logs and stones
- yellow-green on raised sections
- muted brown in dry or shadowed patches
Avoid outlining every moss cluster with one dark line.
Instead, place the darkest shades beneath overhanging areas and where the moss meets roots, rocks, mushrooms, or logs.
The upper surfaces can remain lighter.
You may also like: “Axolotl Adventure Coloring Pages: Treasure, Space, and Exploration”
4. Create Mossy Stones
Stones do not need to be plain gray.
A woodland stone palette could include:
- warm gray
- cool gray
- beige
- muted brown
- moss green
- pale blue-gray
Begin with a light gray or beige base.
Add darker color beneath the stone and along one side. Leave the upper center lighter.
Use small patches of olive or moss green along the top and lower edges.
Not every stone needs moss. A mixture of clean and moss-covered rocks will look more natural.
For wet stones, add a small white highlight or a narrow pale-blue reflection.
5. Add Texture to Tree Stumps and Wooden Interiors
Wood grain provides a helpful guide for your pencil strokes.
Follow the direction of the printed lines rather than coloring across them.

Use:
- pale tan for highlights
- warm brown as the main color
- chestnut for deeper grain
- dark brown in cracks
- gray-brown in shadowed areas
Inside a hollow tree or reading nook, darken the corners and the area beneath shelves, windows, furniture, and plants.
Keep the central raised sections slightly lighter.
Small touches of olive or moss green can suggest age and dampness near the bottom of a stump.
Like these woodland scenes? The complete Among the Mushrooms coloring book contains mushroom paths, tree homes, forest animals, lanterns, ponds, cottages, and cozy hidden spaces.
6. Color Old Roots With Light and Shadow
Large tree roots can create natural frames around cottages and paths.

Begin with pale tan or light brown.
Add medium brown along the printed grain lines.
Use dark brown:
- between overlapping roots
- beneath mushrooms
- around doors and windows
- inside deep cracks
- where roots meet the ground
Cool gray or blue-gray can be added to the deepest shadows.
A small amount of moss green along the lower roots helps connect the tree to the forest floor.
Avoid using equal pressure everywhere. The raised portions should remain lighter than the cracks and spaces beneath the roots.
7. Color Woodland Paths
A path can guide the eye through the entire illustration.
Possible path colors include:
- warm beige
- pale gray
- muted brown
- mossy green
- blue-gray
- soft peach-brown
For stone paths, alternate between several related shades rather than coloring every stone exactly the same.
Add darker shadows:
- beneath the lower edge of each stone
- where plants overlap
- near tree roots
- along the sides of the path
Stones closer to the bottom of the page may use stronger contrast. Distant stones can remain smaller, lighter, and less detailed.
This can help create depth.
8. Color Shelf Mushrooms and Tree Details
Shelf mushrooms growing along a tree can form a natural staircase or decorative pattern.
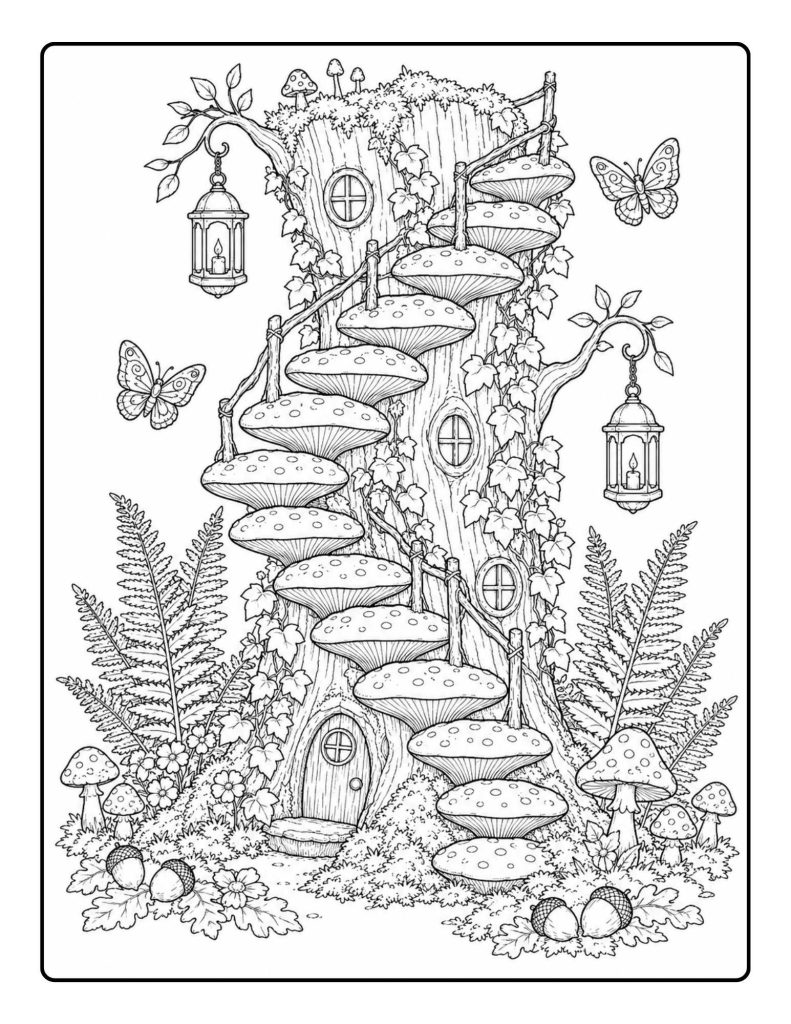
Choose one coordinated mushroom palette and repeat it from bottom to top.
For example:
- rust caps
- cream spots
- pale tan stems
- dark brown undersides
- muted red shadows
Another option could use lavender, dusty pink, sage, cream, and violet.
Darken the underside of each mushroom shelf and keep the top slightly lighter.
Where a mushroom touches the tree, add a narrow shadow to show that it projects outward.
9. Add Flowers Without Overcrowding the Forest
A page may contain many small flowers, but you do not need a new color for each one.
Choose two or three flower colors.
For example:
- pale yellow
- lavender
- dusty pink
Repeat them across the page.
Use one deeper shade near the flower centers and a lighter shade near the petal tips.
Flower centers can be yellow, gold, brown, orange, or white.
The limited palette will add variety without making the forest feel scattered.
10. Bring the Whole Forest Together
A detailed forest page feels more complete when colors repeat across different objects.

For example:
- red mushroom caps can connect to red flowers
- golden lanterns can connect to flower centers
- lavender butterflies can connect to lavender cottage curtains
- sage ferns can connect to moss and vines
- warm brown roots can connect to paths, baskets, and animal fur
Try using each important color in at least three places.
The repeated colors do not need to cover large areas. Small accents are enough to create visual harmony.
Like these forest coloring techniques? Try them on the mushroom paths, tree homes, frogs, foxes, lanterns, cottages, ferns, moss, and woodland scenes inside the full Among the Mushrooms coloring book.
How to Choose a Forest Light Direction
Choosing one general light direction makes shading easier.
Imagine light entering from the upper left.
The upper-left side of mushrooms, stones, leaves, and roots can remain lighter.
The lower-right side can receive deeper color.
You do not need to calculate every shadow perfectly. A consistent general direction is enough to make the scene appear more dimensional.
Lanterns and candles can create additional local light in small areas.
Coloring Mushrooms in a Natural Forest
Mushrooms can be colorful without becoming disconnected from the forest.
Natural options include:
- red and cream
- warm brown
- golden yellow
- rust orange
- burgundy
- pale tan
- muted gray
- soft peach
Use a darker shade beneath the cap and near the bottom of the stem.
The stem can be cream, tan, pale gray, peach, or a lighter version of the cap color.
For spotted mushrooms, keep the spots lighter than the cap.
Creating a Magical Forest Palette
A fantasy forest may use colors not normally found together in nature.
Try:
- teal mushrooms
- violet shadows
- turquoise butterflies
- lavender flowers
- navy tree hollows
- pale yellow lanterns
- emerald ferns
- silver stones
Keep some neutral browns, creams, and grays in the scene. They help the magical colors stand out.
Creating an Autumn Forest Palette
Use:
- burnt orange
- mustard yellow
- burgundy
- olive green
- chestnut brown
- cream
- muted red
Mix several shades across the leaves.
Use olive instead of bright green for the ferns and moss. Add rust or brown to the edges of older plants.
This palette works beautifully with foxes, hedgehogs, acorns, baskets, snail mail scenes, and mushroom cottages.
Creating a Rainy Forest Palette
Use:
- blue-gray
- cool green
- dark teal
- soft brown
- pale lavender
- silver
- cream
Add pale blue to puddles and water drops.
Use darker greens beneath leaves and logs.
Wet stones can receive a small white or pale-blue highlight.
Keep lanterns and cottage windows golden to create a warm contrast against the rainy surroundings.
Colored-Pencil Tips for Nature Details
Use light pressure and several layers.
Short strokes work well for:
- fur
- grass
- fern leaves
- bark
- moss
Circular strokes work well for:
- soft moss
- stones
- mushroom caps
- smooth cottage walls
Follow the printed direction of bark, vines, leaves, and flower petals.
A white or cream pencil can soften transitions and blend pale highlights.
Marker Tips for Forest Pages
Markers are helpful for larger areas such as:
- mushroom caps
- cottage walls
- ponds
- broad leaves
- backgrounds
- large tree roots
Use colored pencils afterward for texture, shadows, grain, and small details.
Because marker ink may bleed through depending on the brand, place a blank sheet or piece of cardstock behind the page.
Who May Find These Techniques Helpful?
These ideas may help:
- adults and teens coloring nature scenes
- beginners learning basic texture
- experienced colorists building detailed forests
- mushroom and cottagecore fans
- colored-pencil users
- marker users
- seniors enjoying a slow creative activity
- gardeners and plant lovers
- anyone coloring woodland animals, cottages, or forest paths
The techniques can be simplified or expanded depending on how much time you want to spend on the page.
Final Thoughts
A magical forest is built from many small details, but they do not need to be complicated.
Use several greens to separate plants. Follow the direction of the wood grain. Keep moss uneven and soft. Add shadows beneath stones, roots, mushrooms, and overlapping leaves.
Most importantly, repeat your colors throughout the page.
A few coordinated greens, browns, grays, flower colors, and warm accents can turn a black-and-white woodland scene into a rich, inviting forest.
Disclosure:
This post may feature HoneySketch books or products. If you purchase one of our books through a link on this page, HoneySketch may earn royalties or income from that sale at no extra cost to you.