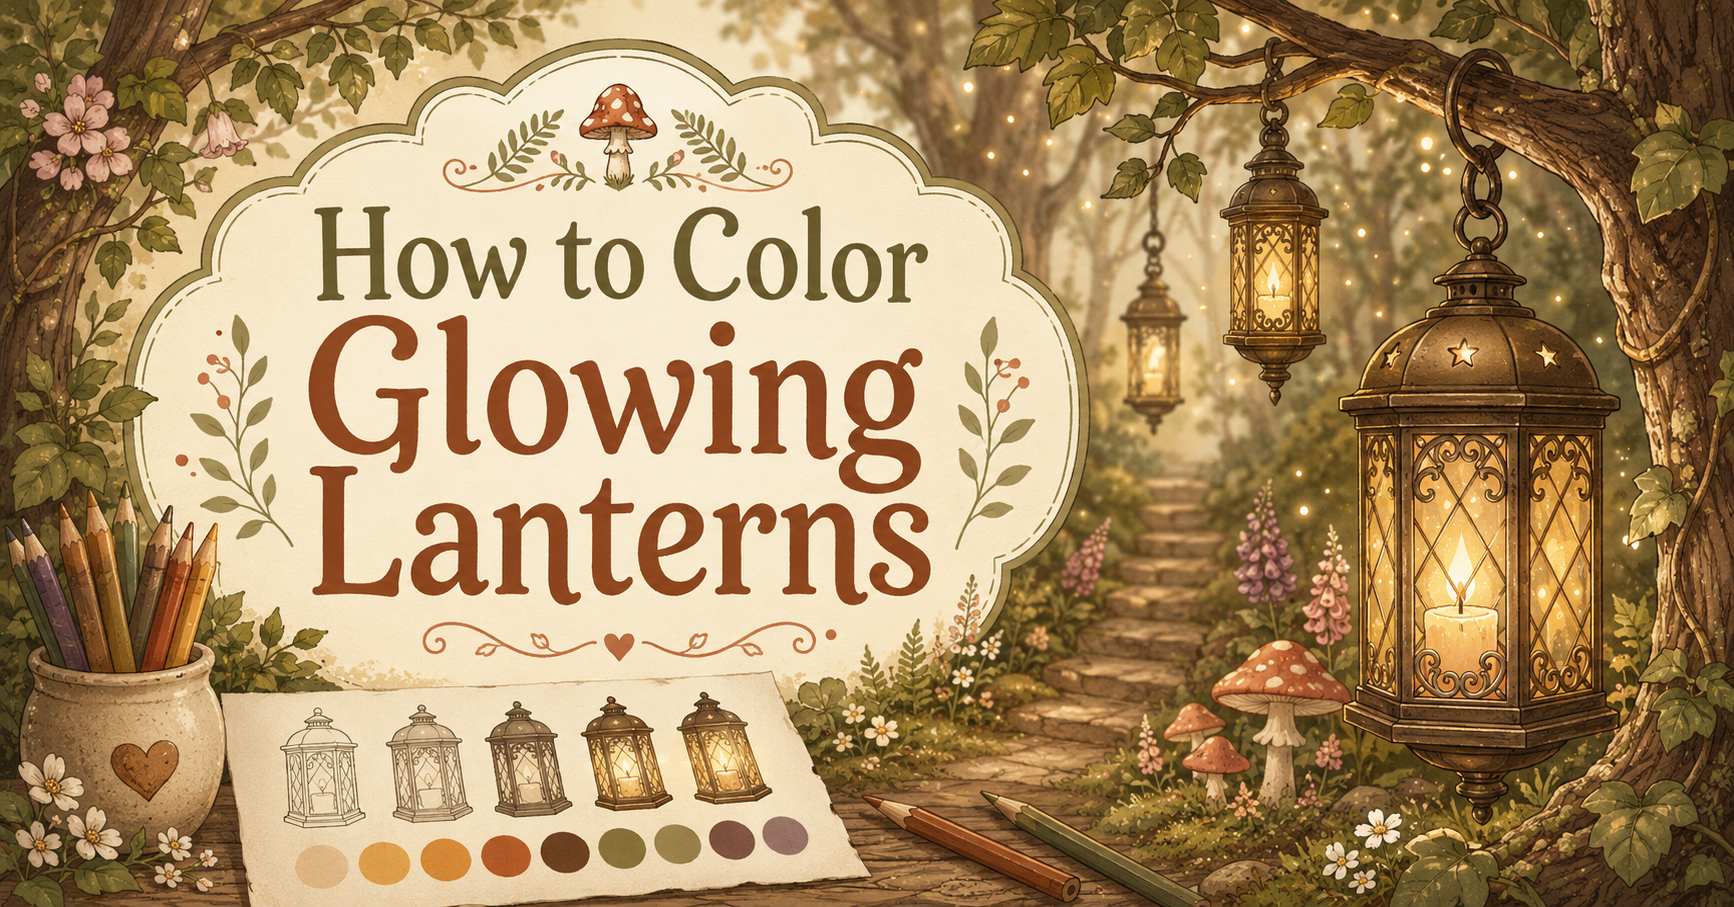
A small lantern can change the mood of an entire coloring page.
Without light, a forest path may feel quiet and mysterious. Add a golden lantern beneath the trees, and the same path begins to feel warm, magical, and welcoming.
The secret is not using the brightest yellow possible.
A believable glow is created through contrast. The flame remains light, the lantern becomes warmer around it, and nearby objects receive a soft touch of reflected color.

The examples in this guide come from Among the Mushrooms, a whimsical mushroom forest cottagecore coloring book by Sally Morris. Its 50 single-sided pages include lantern paths, candlelit cottages, mushroom houses, woodland animals, forest swings, reading rooms, ferns, flowers, and magical nature scenes.
The examples in this guide come from Among the Mushrooms, a whimsical mushroom forest cottagecore coloring book by Sally Morris. Its 50 single-sided pages include lantern paths, candlelit cottages, mushroom houses, woodland animals, forest swings, reading rooms, ferns, flowers, and magical nature scenes.
Here is a simple way to color lanterns, candles, and glowing windows using colored pencils, gel pens, or markers.
1. Begin With the Brightest Part of the Lantern
The brightest part should usually remain near the center of the flame.
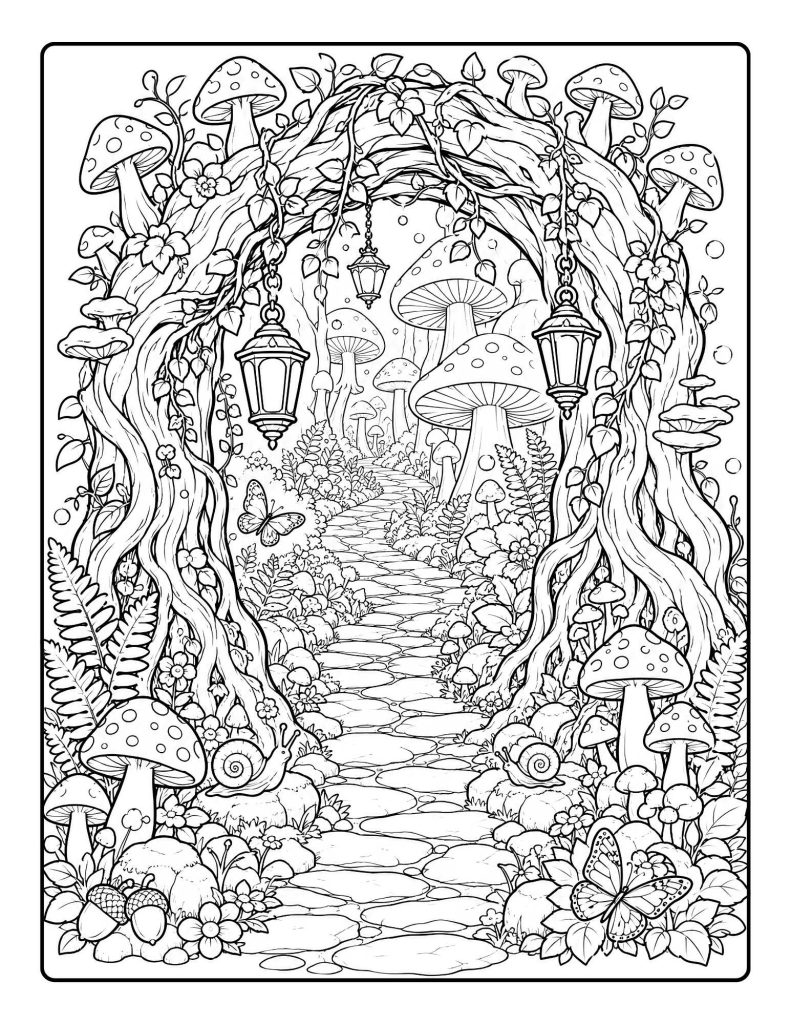
You can leave a small white area or use a very pale cream.
Build outward using:
- white or pale cream
- light yellow
- golden yellow
- pale orange
- a small amount of dark orange near the flame base
Avoid filling the entire lantern with one yellow shade.
The center should remain lighter than the outer glass and metal frame.
On a page with several lanterns, use the same basic sequence in each one. Repeated golden light can lead the eye through the forest.
2. Color the Flame in Layers
A candle flame is often lightest near the center and warmer near the edge.
Try:
- pale cream in the center
- lemon yellow around the cream
- golden yellow farther outward
- a touch of orange near the bottom
- a tiny red-orange accent at the base
Keep the top narrow and light.
Do not outline the entire flame heavily in black. A dark border can make the flame look flat and separate from its glow.
A white gel pen can restore the brightest central highlight after the surrounding color has been added.
3. Color a Warm Candlelit Window
A glowing cottage window becomes more convincing when the surrounding wall is cooler or darker.

Use:
- pale cream closest to the candle
- light yellow across the glass
- golden yellow near the window edges
- a little orange near curtains or objects closest to the flame
The curtains may receive a soft yellow highlight along their inner edges.
The outer side of the curtains can remain burgundy, green, blue, lavender, or brown.
For a nighttime cottage, use navy, violet, blue-gray, and charcoal around the window. The strong warm-and-cool contrast will make the candlelight appear brighter.
You may also like: “Cottagecore Garden Coloring Pages for Flower Lovers“
4. Choose Colors for the Lantern Frame
The lantern frame should usually be darker than the light inside it.
Possible frame colors include:
- dark brown
- charcoal
- black
- antique gold
- bronze
- copper
- deep green
Avoid coloring the entire frame with the same pressure.
Leave a few narrow lighter edges where the warm glow would reflect from the metal.
For an antique-gold lantern, use mustard yellow, ochre, brown, and a small amount of dark brown.
For copper, use burnt orange, rust, reddish brown, and dark brown.
5. Add Reflected Light to Nearby Objects
A lantern’s glow should not stop at the glass.

It can lightly touch nearby:
- leaves
- ropes
- tree bark
- flowers
- mushrooms
- stones
- doors
- window frames
- animal faces
Use pale yellow or cream very lightly along the edges facing the lantern.
The reflected color should be weaker than the light inside the lantern.
For example, a green leaf near the lantern may remain green but receive a thin yellow-green edge.
A brown rope may receive a pale golden highlight on one side.
Like these lantern-lit woodland scenes? More glowing cottages, paths, reading rooms, fairy doors, and mushroom forests appear inside the full Among the Mushrooms coloring book.
6. Darken the Area Around the Glow
Light appears stronger when the surrounding area is darker.
You do not need to color the entire background black.
Instead, deepen the colors immediately around the lantern:
- dark green leaves
- brown tree bark
- navy evening sky
- violet shadows
- charcoal stones
- burgundy flowers
The strongest contrast should remain close to the lantern.
Colors can gradually become lighter as you move farther away.
This creates a small pool of light rather than making the entire page look equally bright.
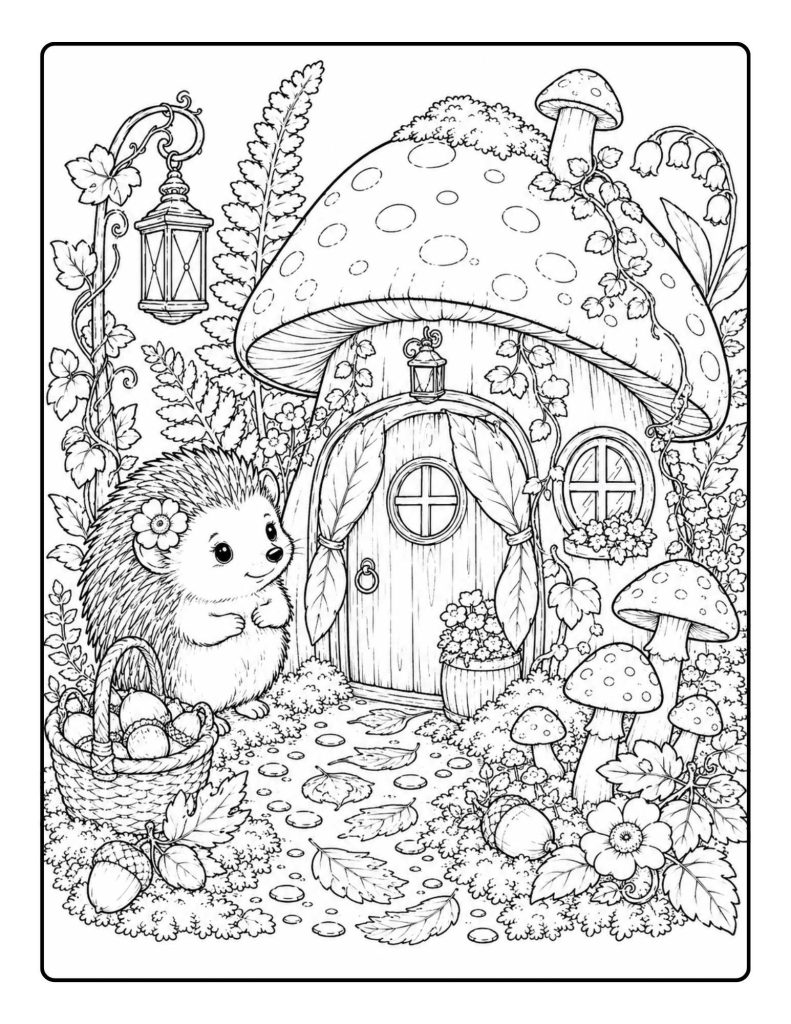
7. Create a Warm Cottage Entrance
Lanterns beside a cottage door can make the entrance feel safe and welcoming.
Also check out: “Best Dark Academia Color Palette Ideas for Coloring Pages“
Use pale yellow on:
- the doorframe
- nearby flowers
- the closest steps
- the edge of the roof
- surrounding vines
- the cottage wall beside the lantern
Keep the opposite side of the doorway slightly darker.
For example, one side of a brown door may receive a golden highlight while the other side remains chestnut or dark brown.
If two lanterns appear on opposite sides of the entrance, let their light overlap gently near the center.
8. Color Candles Inside a Cozy Reading Nook
Several candles in one room can create a broader, softer glow.

Instead of drawing a strong circle around every flame, allow the candlelight to blend across nearby objects.
Add warm highlights to:
- book edges
- teacups
- chair cushions
- rugs
- wooden walls
- shelves
- open pages
- window frames
Keep the room palette warm with walnut brown, burgundy, cream, forest green, rust, and antique gold.
The candlelight can be strongest on objects closest to the flames and weaker on items farther away.
9. Add a Soft Halo Around the Lantern
A halo is a pale area surrounding the light source.
With colored pencils, use very light circular strokes around the lantern.
Begin with pale yellow near the lantern and gradually reduce the pressure outward.
The halo should fade into the surrounding color rather than ending with a hard line.
For a daytime forest, the halo may be very small.
For a dark or moonlit scene, it can extend farther and become more visible.
Do not make every lantern halo the same size. A closer or brighter lantern can have a larger glow than one in the distance.
10. Use Repeated Lanterns to Lead the Eye
When several lanterns appear along a path, staircase, or tree, they can guide the viewer through the illustration.
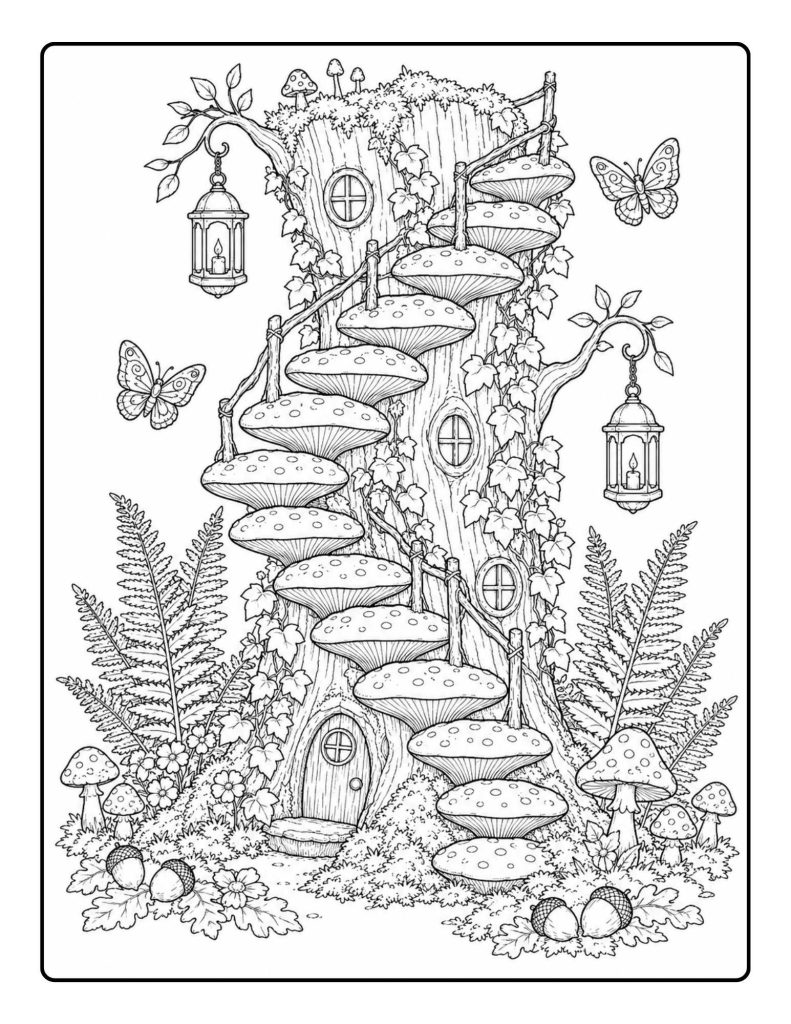
Color the nearest lantern with the strongest contrast and most detail.
Lanterns farther away can be:
- smaller
- slightly paler
- less orange
- surrounded by less reflected light
This helps create distance.
On a staircase scene, repeated lanterns can lead the eye upward. On a forest path, they can pull the eye deeper into the woods.
Like these glowing forest scenes? More lantern paths, candlelit windows, mushroom cottages, fairy doors, reading nooks, and woodland details can be found in the complete Among the Mushrooms coloring book.
Simple Colored-Pencil Glow Recipe
Use this quick order:
- Leave the center white.
- Add pale cream.
- Add light yellow.
- Add golden yellow.
- Add a small amount of orange.
- Darken the surrounding frame.
- Add pale yellow to nearby objects.
- Deepen the background around the glow.
- Restore highlights with a white pencil or gel pen.
Work slowly and use light pressure at first.
It is easier to add more color than to remove a heavy orange or yellow layer.
Marker Method for Glowing Lanterns
Markers can create smooth, bold light effects, but blending requires some planning.
Begin with the lightest shade.
Use:
- pale yellow in the center
- golden yellow around it
- light orange at the outer edge
Work while the ink is still slightly wet if your markers are designed for blending.
Do not use a dark orange across the entire lantern glass.
Leave a small white or pale area near the flame.
Place a protective sheet behind the page because marker ink may bleed through depending on the brand.
Gel-Pen Accents
Gel pens can add small finishing details after pencils or markers have dried.
Use them for:
- white flame centers
- gold lantern frames
- silver reflections
- stars
- fireflies
- window highlights
- candle wax
- tiny sparkles
Avoid covering every part of the lantern with glitter. A few accents usually create a stronger effect.
Common Lantern-Coloring Mistakes
Using one flat yellow
Use cream, yellow, gold, and a small amount of orange to create variation.
Making the flame darker than the surrounding glow
The flame center should usually remain one of the lightest areas.
Forgetting reflected light
Add a little yellow to nearby leaves, wood, stones, or flowers.
Keeping the background too light
Deepen the colors around the lantern to improve contrast.
Using too much orange
Orange should normally remain near the flame base or outer glow. Too much can make the entire lantern look red.
Drawing a hard yellow circle around the light
Fade the halo gradually with gentle pressure.
Who May Find This Technique Helpful?
These tips can be used by:
- adult and teen colorists
- beginners learning simple light effects
- experienced colorists creating fantasy scenes
- colored-pencil users
- marker users
- gel-pen users
- cottagecore and mushroom fans
- anyone coloring lanterns, candles, fireplaces, windows, or stars
The same ideas can be adapted for sunlight, moonlight, fireflies, magical crystals, and glowing flowers.
Final Thoughts
A convincing glow depends more on contrast than brightness.
Keep the flame light, build warm colors around it, add a gentle reflection to nearby objects, and deepen the surrounding shadows.
Even a tiny lantern can then become the heart of the entire scene.
It may guide a snail through a mushroom village, light the entrance to a hidden cottage, brighten a woodland swing, or create a warm corner inside a tree-stump library.
Disclosure:
This post may feature HoneySketch books or products. If you purchase one of our books through a link on this page, HoneySketch may earn royalties or income from that sale at no extra cost to you.