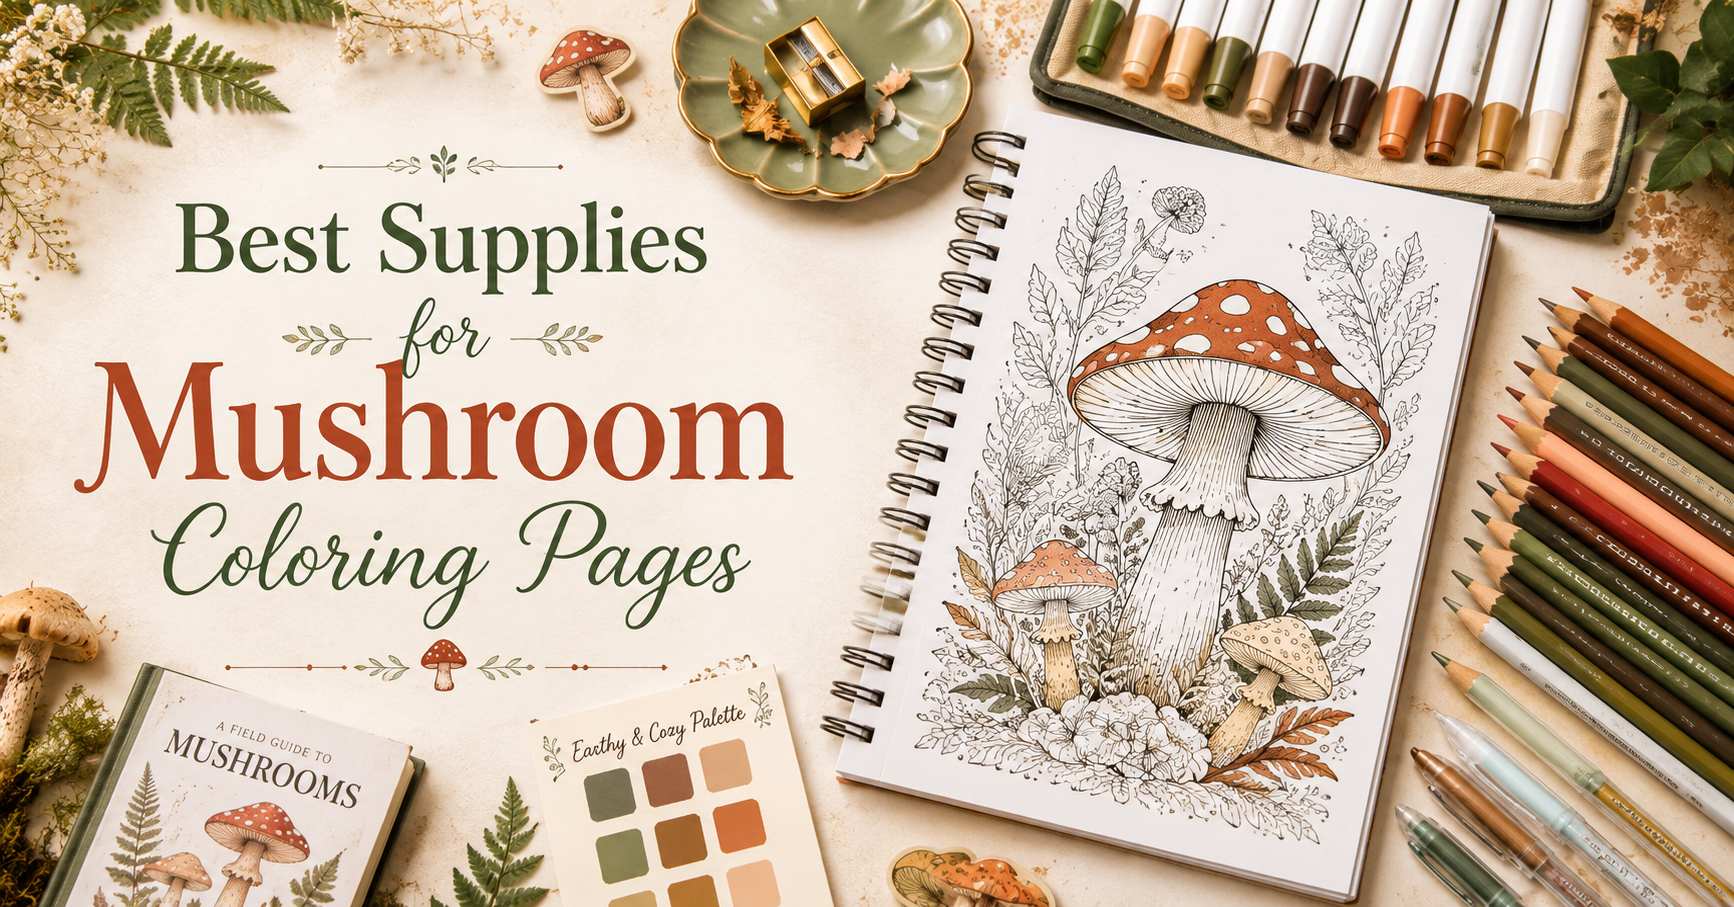
A beautiful coloring session does not require a large collection of expensive supplies.
A small set of pencils, a sharpener, and one mushroom forest page may be enough.
Different tools do, however, create different results.
Colored pencils offer control for fur, ferns, flowers, wood grain, and tiny cottage details. Markers provide bold and smooth coverage on mushroom caps, walls, ponds, and broad leaves. Gel pens can add light, shine, and small magical accents.
The best supplies depend on the page, your coloring style, and how much detail you want to add.
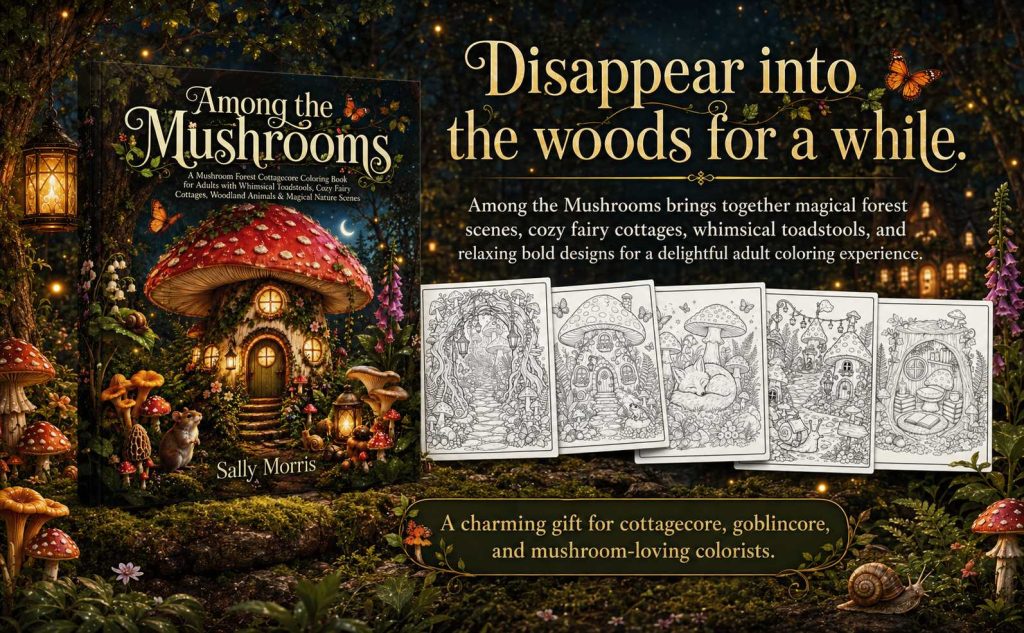
The examples below come from Among the Mushrooms by Sally Morris, a mushroom forest cottagecore coloring book with 50 single-sided pages featuring fairy cottages, woodland animals, lanterns, ponds, flowers, moss, ferns, and whimsical toadstools.
Here are the main supplies worth considering and how to use them without buying more than you need.
1. Colored Pencils for Control and Detail
Colored pencils are one of the most flexible choices for adult coloring books.
They can be used lightly for soft cottagecore colors or layered for stronger, richer shades.
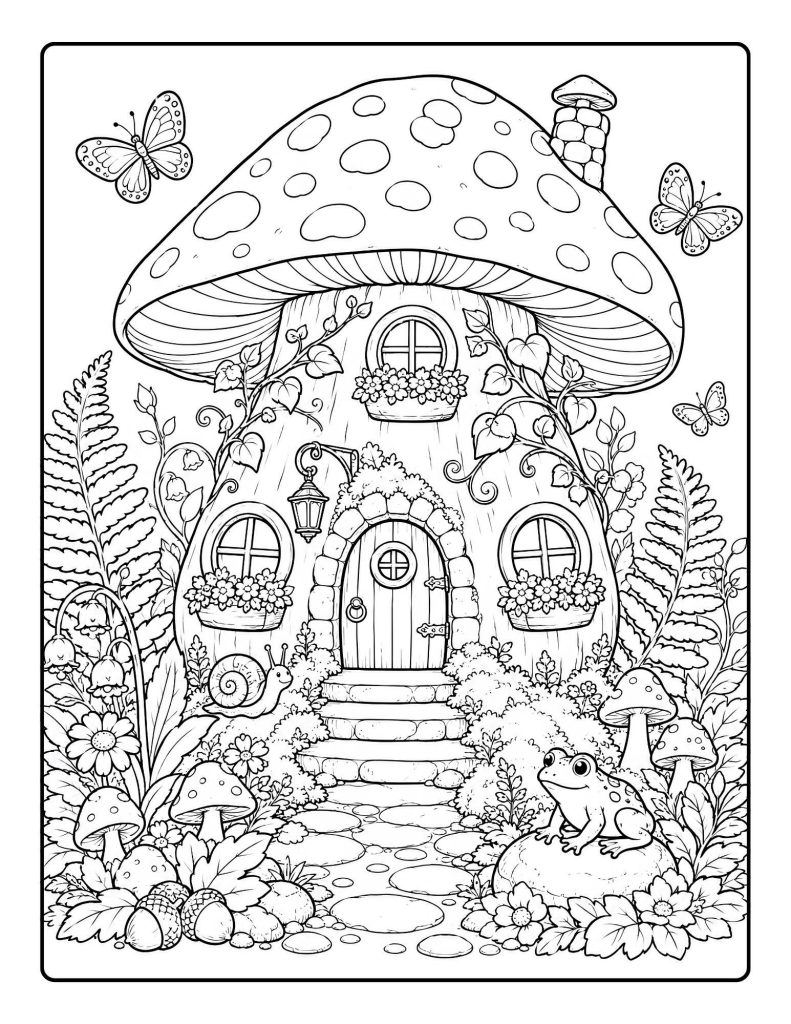
They work well for:
- mushroom spots
- flower petals
- butterfly wings
- frog skin
- snail shells
- cottage doors
- vines
- lantern light
- animal fur
- ferns
A mushroom cottage page contains both large and small areas, making it a useful page for colored-pencil practice.
Use the side of the pencil for broader roof and wall areas. Use a sharper point for flowers, window frames, vines, and small mushrooms.
You do not need a very large set.
A collection of 24 to 36 colors can provide enough variety for most mushroom forest scenes.
2. Fine-Point Pencils for Intricate Forest Pages
Detailed forest paths contain small leaves, roots, flowers, lantern frames, mushrooms, and stones.
A sharp pencil provides better control in these areas.
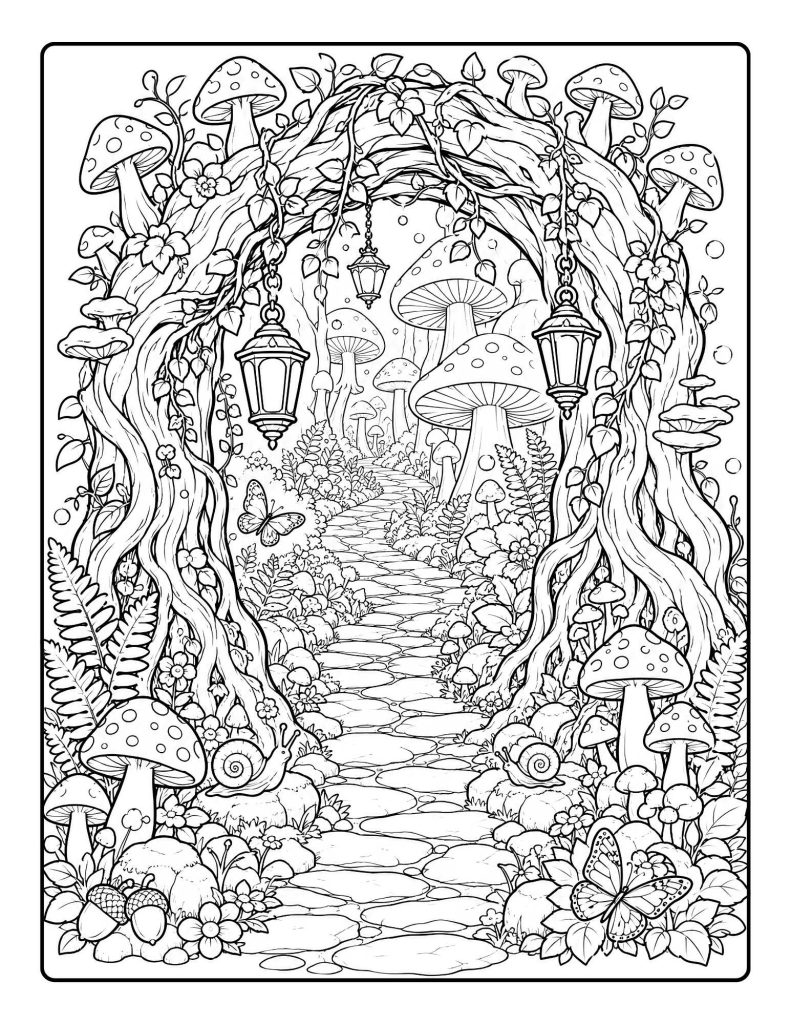
Keep a sharpener nearby and sharpen lightly rather than removing too much pencil at once.
Useful pencil-point techniques include:
- a sharp point for flower centers and lantern frames
- a medium point for vines and ferns
- the pencil side for pathways and backgrounds
- short strokes for fur and bark
- circular strokes for moss and mushroom caps
Do not press heavily simply because the area is small.
Several light layers are often easier to control than one dark layer.
3. Choose a Pencil Texture You Enjoy
Colored pencils vary in texture.
Some feel softer and release more color quickly. Others feel firmer and hold a fine point for longer.
Softer pencils may be useful for:
- smooth mushroom caps
- broad cottage walls
- backgrounds
- bold color
- blending
Firmer pencils may be useful for:
- tiny leaves
- ferns
- hair and fur
- bark
- flower details
- lantern frames
- thin vines
Many colorists combine both types.
A softer pencil can create the base layer, while a firmer pencil adds the small details.
4. Markers for Bold, Smooth Areas
Markers provide faster and more even coverage than pencils.
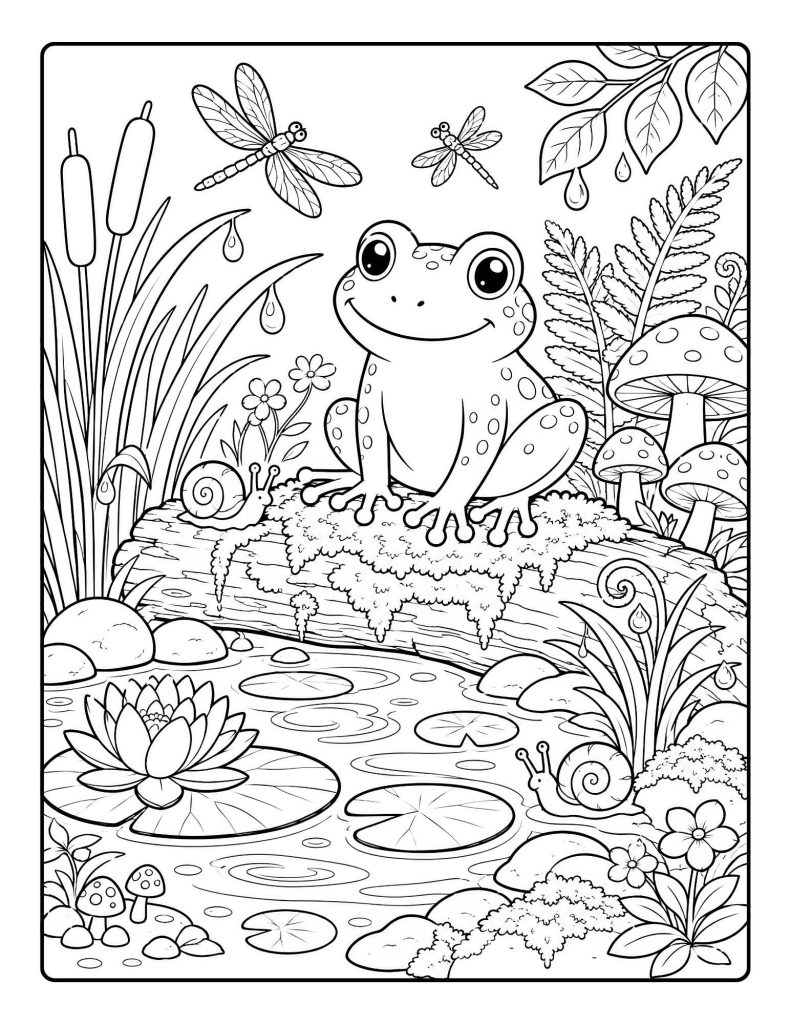
They can work well for:
- large mushroom caps
- pond water
- cottage walls
- broad leaves
- simple skies
- large animals
- open background spaces
A frog pond page includes several areas that suit markers, such as the frog, water, lily pads, and large mushrooms.
Markers may be less forgiving in tiny spaces, so use a fine tip or switch to pencils for the smallest details.
Test colors on a separate sheet before using them on the page.
The marker cap may not perfectly match the final ink color.
5. Water-Based and Alcohol Markers
Both types can be used for coloring, but they behave differently.
Water-Based Markers
They may:
- remain closer to the paper surface
- create bold color
- be easier for casual use
- cause streaking if an area is repeatedly colored while drying
- damage paper if heavily layered
Alcohol Markers
They may:
- blend more smoothly
- create even coverage
- bleed through paper more easily
- spread slightly beyond small lines
- require a protective sheet
Always test unfamiliar markers before using them on an important page.
The pages in Among the Mushrooms are single-sided, but ink may still bleed through depending on the marker brand and amount used.
Like using a mixture of pencils, markers, and gel pens? The book includes bold mushroom cottages, detailed forests, ponds, animals, and lantern scenes suited to different coloring tools.
6. Gel Pens for Light, Sparkle, and Small Accents
Gel pens are especially useful for finishing details.

Useful colors include:
- white
- gold
- silver
- copper
- pale yellow
- metallic green
- metallic purple
- glitter pink or blue
Use gel pens on:
- lantern flames
- window highlights
- stars
- moth wings
- butterfly details
- flower centers
- snail-shell patterns
- door handles
- jewelry and pendants
- water sparkles
A white gel pen can restore tiny highlights after an area has been colored.
Add dots to eyes, mushrooms, berries, pond water, and glossy leaves.
Allow gel ink to dry before closing the book or resting your hand on the page.
You may also like: “Sweet Axolotl Friendship Coloring Pages for Kids“
7. A Reliable Pencil Sharpener
A sharpener is easy to overlook, but it affects the coloring experience.
A dull pencil may make it difficult to stay inside small areas.
Look for a sharpener that:
- creates a clean point
- does not repeatedly break the lead
- contains shavings
- feels comfortable to use
- works with your pencil diameter
A small manual sharpener is often enough.
Electric sharpeners can be convenient, but avoid over-sharpening soft pencils.
Keep the sharpener away from open pages so loose graphite or colored dust does not fall across the design.
8. Use Blending Tools Carefully
Blending can soften pencil layers and reduce visible grain.

Possible blending tools include:
- a white colored pencil
- a cream colored pencil
- a colorless blender pencil
- additional layers of the same color
- a slightly lighter pencil shade
A sleeping fox page offers several blending areas:
- soft fur
- rounded mushroom caps
- berries
- stones
- moss
- flower petals
Begin with light layers.
Use the blender only after enough pigment has been applied. Blending an almost empty area may simply flatten the paper texture without creating a smooth result.
Remember that blending is optional. Visible pencil texture can also look beautiful.
9. Erasers for Highlights and Small Corrections
An eraser may not completely remove colored pencil, but it can lighten some areas.
Useful types include:
- a standard white eraser
- a kneaded eraser
- a small precision eraser
- an eraser pencil
Use an eraser to:
- soften an overly dark highlight
- lift some color from mushroom spots
- brighten clouds or water
- clean small edges
- create texture in fur
- lighten the center of a lantern glow
Avoid rubbing aggressively because the paper surface may become rough or damaged.
Use gentle pressure and check the result often.
10. Use a Protective Sheet With Markers
Place a blank sheet behind the page whenever you use markers, heavy gel ink, or any wet medium.

Suitable protective sheets include:
- printer paper
- scrap paper
- cardstock
- a plastic coloring-board sheet
- a clean file folder
Cardstock offers stronger protection than thin printer paper.
Move the sheet so it always remains directly behind the area being colored.
Do not assume that single-sided printing means marker ink cannot reach the next design. Single-sided pages prevent another illustration from appearing on the back, but bleed-through can still mark the following sheet.
11. Keep a Color-Test Page
A swatch page helps you see what each pencil or marker looks like on paper.
Create a simple chart with:
- the color name or number
- one light layer
- one medium layer
- one dark layer
- a blended sample
- a sample beside related colors
This is especially useful when planning mushroom coloring page color ideas.
A red pencil may look orange on paper. A gray marker may appear blue. A pale lavender may become much darker after several layers.
Testing first reduces surprises.
Like coloring mushroom cottages, woodland animals, lanterns, ponds, flowers, ferns, and detailed forest paths? The full Among the Mushrooms paperback includes 50 single-sided pages with a mixture of bold, medium, and intricate designs.
12. Use Scrap Paper for Color Combinations
Before coloring a cottage, test the main colors together.
For example, swatch:
- burgundy roof
- cream spots
- sage vines
- brown door
- yellow lantern
- lavender flowers
Seeing the colors beside one another can show whether the palette feels balanced.
You may decide that one shade is too bright or that the page needs a darker neutral.
A small scrap-paper test can save time later.
13. Optional Background Supplies
Some colorists enjoy adding backgrounds to open areas.
Possible tools include:
- colored pencils
- pastel pencils
- soft pastels
- chalk pastels
- water-based markers
- blending brushes
Use care with powders and wet media.
Test them first because some materials may transfer to the opposite page or become difficult to control near the printed lines.
A simple pencil background is often the safest option.
Use light pressure and gradually build the color.
14. A Basic Beginner Supply List
A beginner may only need:
- one set of 24 colored pencils
- a sharpener
- a white eraser
- a blank protective sheet
- scrap paper for testing
- one white gel pen
This is enough to color cottages, mushrooms, animals, ferns, flowers, ponds, and lanterns.
Additional supplies can be added later based on what the colorist actually enjoys using.
15. A More Complete Supply Kit
A larger kit might include:
- colored pencils
- fine-tip markers
- brush markers
- white gel pen
- metallic gel pens
- colorless blender pencil
- precision eraser
- sharpener
- protective cardstock
- swatch notebook
- pencil pouch
- small ruler
- page tabs
The kit does not need to include every available medium.
Choose supplies that support your preferred style.
Which Supplies Work Best for Mushroom Caps?
For soft gradients:
- colored pencils
- blender pencil
- white pencil
For bold, even roofs:
- markers
- pencils for additional shadows
For decorative spots:
- gel pens
- fine-point pencils
- paint pens tested carefully on scrap paper
Darken the lower edge of the cap and keep the top slightly lighter.
Which Supplies Work Best for Fur?
Colored pencils usually provide the most control.
Use short strokes that follow the direction of the fur.
Layer:
- a light base color
- a medium shade
- a darker shadow
- a cream or white highlight
A firm pencil can add individual strands after a softer pencil creates the base.
Which Supplies Work Best for Lanterns?
Use:
- pale-yellow pencil
- golden-yellow pencil
- orange pencil
- dark pencil for the frame
- white gel pen for the flame center
- metallic gold or copper gel pen for accents
The lantern glow should remain lighter than the frame and surrounding background.
Which Supplies Work Best for Ferns and Flowers?
Fine-point colored pencils work well for small leaves and petals.
Markers may be used for broad leaves, but pencils provide better control in narrow fern sections.
Gel pens can add flower centers and delicate highlights.
Choose two or three greens rather than one and repeat a limited flower palette across the page.
Which Supplies Work Best for Water?
Markers create smooth, bold pond water.
Colored pencils provide more control for:
- ripples
- reflections
- gradual shading
- blue-green transitions
- shadows beneath stones and lily pads
A combined approach can work well.
Use a pale marker base, allow it to dry, and add pencil shadows and highlights afterward.
Test the combination on scrap paper first.
Organizing Your Supplies
Keep supplies easy to reach without spreading everything across the table.
Possible storage options include:
- pencil pouch
- cup or jar
- small desktop organizer
- divided box
- rolling cart
- fabric case
- portable art bag
Group similar colors together.
You might separate:
- greens
- browns and neutrals
- warm colors
- cool colors
- metallic and gel pens
A smaller working palette can be placed beside the page while the full collection remains stored away.
Supplies for Seniors or Anyone With Hand Discomfort
Comfort may be more important than having the largest color range.
Consider:
- pencils with wider barrels
- soft-core pencils requiring less pressure
- ergonomic grips
- markers with comfortable bodies
- a slanted work surface
- good lighting
- frequent breaks
- simple pages with broad shapes
Choose easy and detailed mushroom coloring pages according to comfort and energy.
A page can be completed one small section at a time.
Common Supply Mistakes
Buying too many supplies before beginning
Start small and learn which medium you actually enjoy.
Using markers without a protective sheet
Always protect the next page.
Pressing too hard with pencils
Build color gradually with several lighter layers.
Using gel pens before the base layer is dry
Wait to avoid smearing.
Skipping the color test
Swatch unfamiliar tools before using them on the page.
Choosing too many unrelated colors
Use a limited palette and repeat important shades throughout the design.
Who May Find This Guide Helpful?
This supply guide may help:
- beginning adult colorists
- teens starting a coloring collection
- experienced colorists trying a new book
- seniors looking for comfortable supplies
- cottagecore and mushroom fans
- colored-pencil users
- marker users
- gel-pen enthusiasts
- gift buyers creating a coloring set
The ideal collection is the one that makes it easy to begin.
Final Thoughts
You do not need every coloring tool to create a beautiful mushroom forest.
Colored pencils can handle nearly every part of the page. Markers can make broad areas faster and bolder. Gel pens add small points of light and magic.
Begin with a simple set, a sharpener, scrap paper, and a protective sheet.
Add new supplies only when they support something you genuinely want to try.
Disclosure:
This post may feature HoneySketch books or products. If you purchase one of our books through a link on this page, HoneySketch may earn royalties or income from that sale at no extra cost to you.