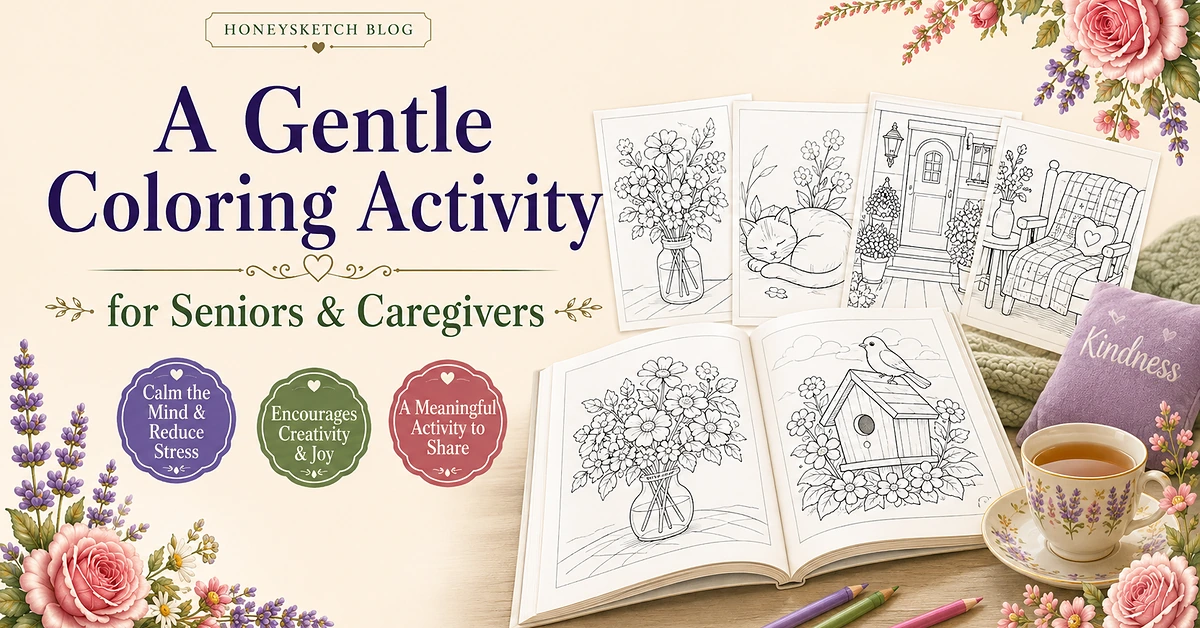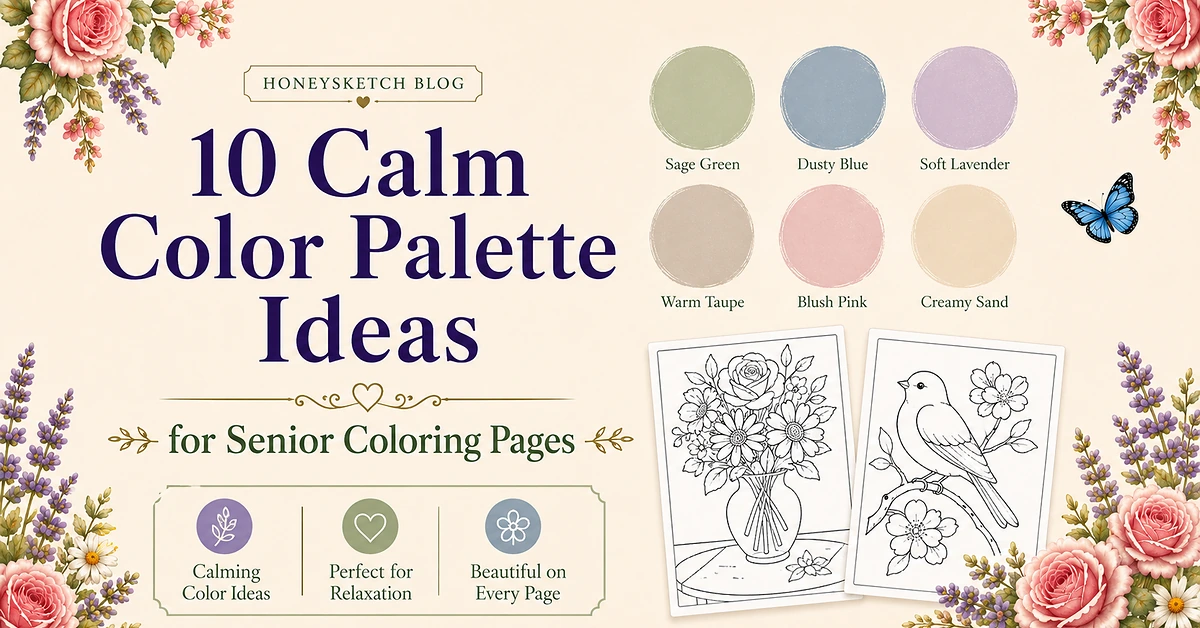
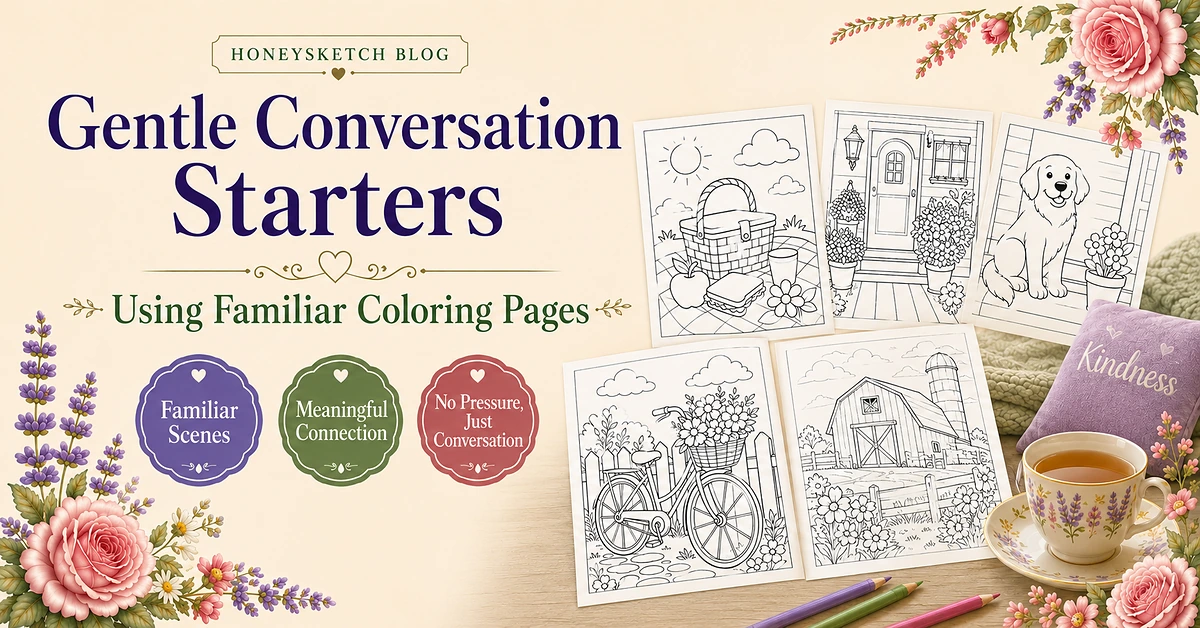
A coloring activity can be simple, but the setup still matters.
Poor lighting, too many supplies, an uncomfortable chair, or a page filled with tiny details can make an otherwise enjoyable activity feel frustrating.
A more comfortable setup begins with the individual.
Consider what they enjoy, what tools feel easiest to hold, how much detail they prefer, and how long they want to participate.
The goal is not to create a perfect craft station.
It is to make beginning feel easy.
The pages shown in this article come from the HoneySketch Large Print Coloring Book for Seniors, featuring bold outlines, familiar subjects, and a mixture of simple and fuller designs.
Step 1: Choose a page with a clear starting point
A page with one main subject often feels easier to begin.
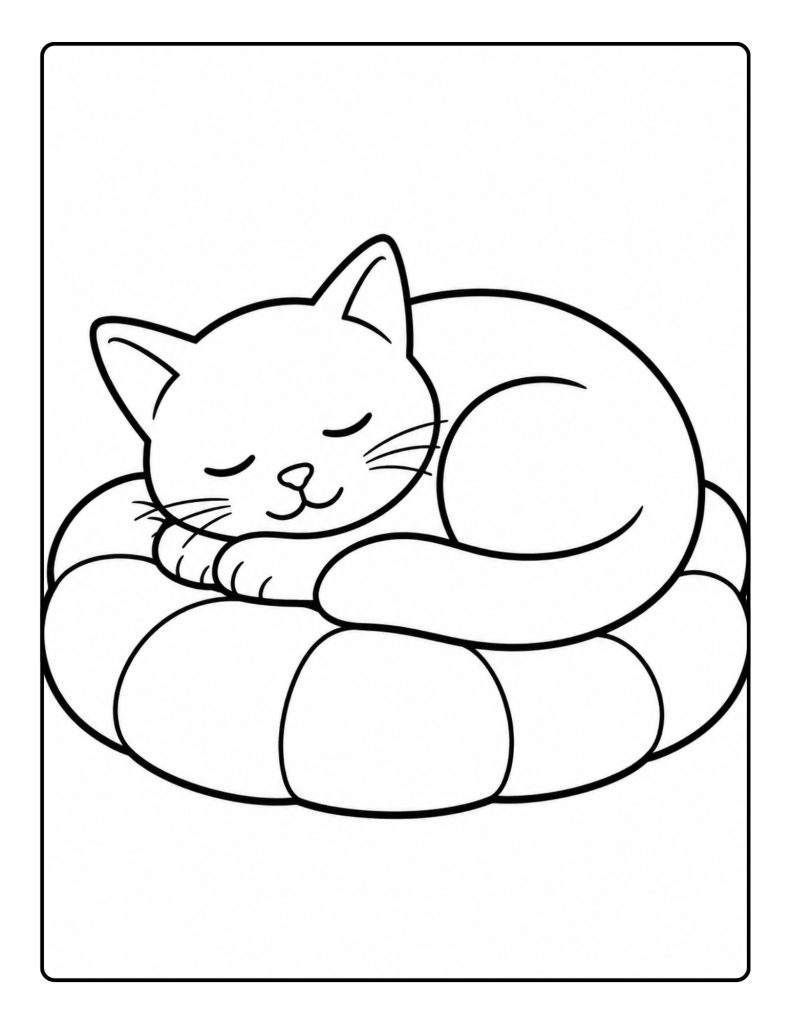
Good simple choices include:
- sleeping cat
- single bird
- large rose
- butterfly
- turtle
- friendly dog
The person can immediately identify the main object and choose where to place the first color.
Avoid assuming that the simplest page is always best. Someone who loves gardens may prefer a more detailed flower scene.
Step 2: Match the page to the person’s energy
A person’s preferred level of detail may change from day to day.
For lower-energy moments
Offer:
- sleeping cat
- single flower
- bird on a branch
- butterfly
- rose in a vase
For relaxed longer sessions
Offer:
- dog beside a door
- picnic basket
- horse near a fence
- farmhouse
- flower-filled doorway
For longer creative projects
Offer:
- bicycle and flowers
- garden bench
- swan pond
- flower cart
- rose arch garden
A detailed page can be completed over several sessions.
Step 3: Offer several page choices
Instead of handing over the entire book, select two or three pages.
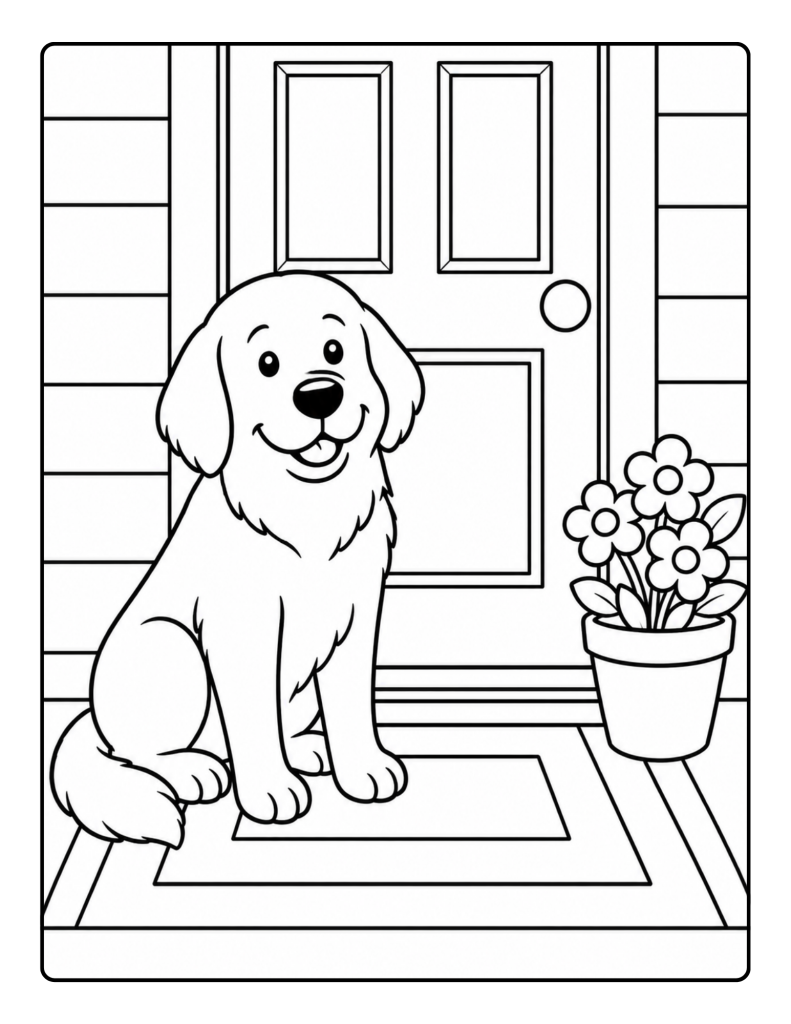
Try offering:
- one animal
- one flower
- one familiar scene
Ask:
“Which picture looks nicest today?”
The person may choose based on subject rather than difficulty.
That choice should be respected whenever possible.
You may also like: “Design Your Own Axolotl Activity for Kids“
Step 4: Prepare the space
Choose a stable table and comfortable chair.
The area should have:
- good lighting
- enough elbow room
- a smooth writing surface
- limited clutter
- supplies within reach
- comfortable temperature
- minimal glare
Remove unnecessary papers, containers, and decorations from the table.
A clear space helps the coloring page remain easy to see.
Step 5: Arrange the supplies within easy reach
Do not place every available color on the table automatically.

Begin with six to twelve colors.
Arrange them:
- in a shallow tray
- in a small cup
- in a row beside the page
- grouped by color family
- with favorite colors closest
Check that pencils are sharpened, markers work, and crayons are not badly broken.
Step 6: Select comfortable coloring tools
Different people prefer different supplies.
Crayons
Crayons work well for large open spaces and may feel familiar.
Colored pencils
Pencils offer more control for petals, leaves, feathers, and smaller areas.
Markers
Markers create bright color without requiring as much repeated pressure.
Pencil grips
Foam or silicone grips can make narrow tools wider.
Large-barrel tools
Thick crayons, triangular pencils, and broad markers may feel more comfortable for some people.
Offer choices and notice which tool the person naturally prefers.
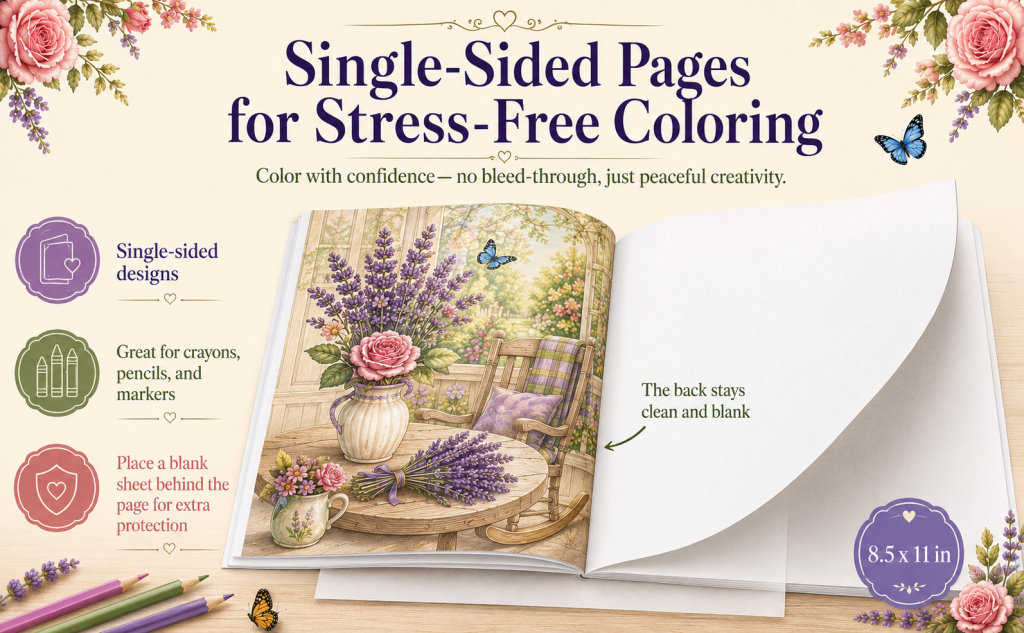
Step 7: Use a protective sheet
Place a blank sheet of paper behind the page being colored.
This can:
- protect the next design
- catch marker bleed
- reduce pressure marks
- protect the work surface
The HoneySketch book contains single-sided pages, but an extra sheet provides additional protection.
Step 8: Color nearby when possible
A caregiver can participate instead of only observing.
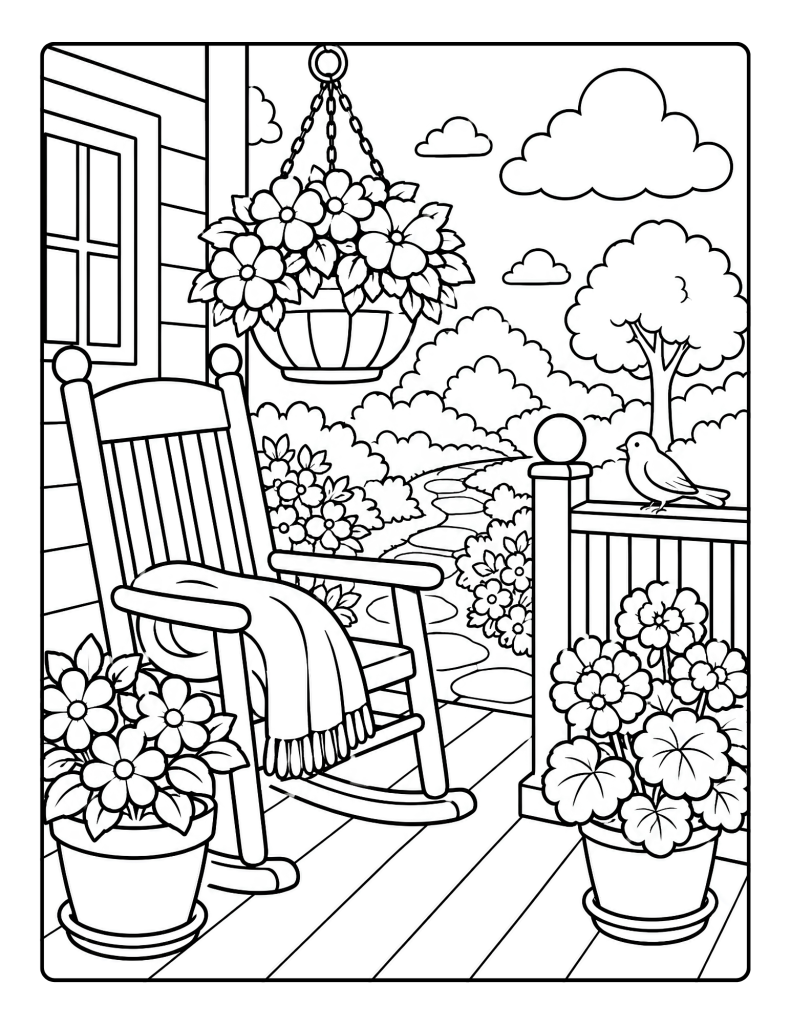
Try:
- coloring a separate page
- sharing one scene
- coloring the background
- helping choose colors
- working quietly nearby
This can make the activity feel shared rather than supervised.
There is no need to provide constant instructions.
The complete HoneySketch paperback includes 50 single-sided designs ranging from very easy animals and flowers to fuller gardens, porches, farms, and familiar scenes.
Step 9: Keep directions short and optional
Avoid giving a long explanation before the activity begins.
Simple phrases work better:
- “You can start anywhere.”
- “Choose any color you like.”
- “We can save the rest for later.”
- “Would you like the flower or the animal?”
- “I can color with you.”
Avoid correcting unusual colors or unfinished areas.
Step 10: Save unfinished pages for another day
A detailed garden may take several sessions.
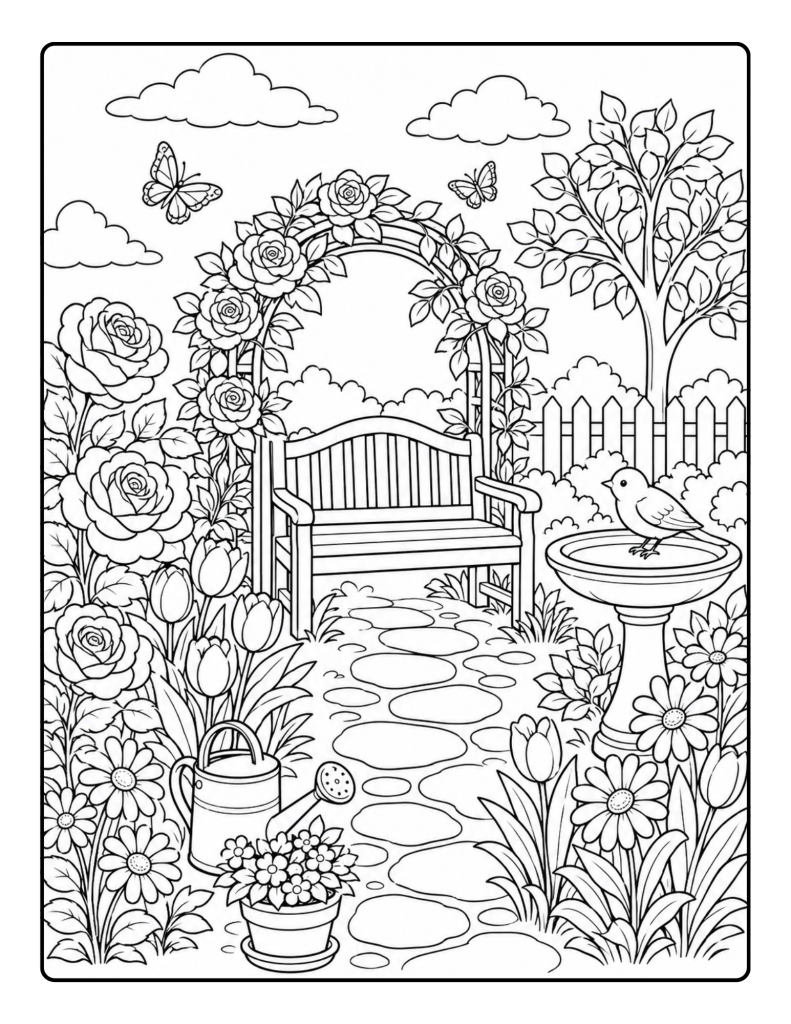
Use a bookmark, paper clip, or folder to keep the page easy to find.
When returning to the picture, offer the choice to continue or begin something new.
Do not require the person to finish an older page before selecting another.
Step 11: Watch for signs that it is time to stop
The session should end when the person no longer appears interested or comfortable.
Signs may include:
- placing the tool down repeatedly
- turning away
- rubbing the hands
- appearing tired
- becoming frustrated
- asking to stop
- looking for another activity
Say:
“We can save this for later.”
Avoid asking the person to finish one more object or section.
Step 12: Keep the activity flexible
A coloring activity may last:
- five minutes
- fifteen minutes
- half an hour
- several short sessions
There is no ideal length.
The value comes from the person enjoying the activity, not from how long they continue.
A basic coloring setup checklist
Before beginning, check that you have:
- one to three page choices
- comfortable chair
- stable table
- good lighting
- six to twelve colors
- sharpened pencils
- working markers
- blank protective sheet
- optional pencil grips
- storage folder for unfinished pages
The setup can remain simple.
Ideas for shared coloring
Divide one page
One person colors the main subject while the other colors the background.
Use matching palettes
Both people choose the same five colors for different pages.
Create seasonal versions
Turn the same outdoor scene into spring, summer, or autumn.
Choose colors for each other
Each person selects two colors for the other to use.
Color quietly
Conversation is optional. Working side by side can be enough.
Explore the Large Print Coloring Book
What to avoid during the activity
Try not to:
- correct color choices
- insist that the page be completed
- compare the page with someone else’s work
- ask memory-testing questions
- place too many supplies on the table
- continue after the person becomes tired
- choose every color for them
- describe the page as too easy or too difficult
The activity should support choice and creativity.
Displaying finished pages
A finished page can be:
- framed
- placed on a refrigerator
- added to a folder
- given to a family member
- photographed
- used as a seasonal decoration
Ask the person whether they would like the artwork displayed.
Some people enjoy sharing finished pages, while others may prefer keeping them private.
Who may benefit from this type of setup?
A simplified coloring area may work well for:
- seniors
- older adults
- grandparents
- assisted living residents
- memory care residents
- beginners
- people who find crowded craft tables distracting
- caregivers planning shared activities
- family members visiting an elderly loved one
- anyone who prefers a calm creative environment
The coloring book is a recreational activity and not a medical treatment.
Final thoughts
A comfortable coloring activity begins with a clear page, accessible supplies, good lighting, and freedom to stop.
The setup should make the activity easier, not turn it into another task.
Offer several choices, keep directions simple, and allow the person to color in their own way.
Frequently asked questions
How many coloring pages should be offered?
Begin with two or three different options.
How many colors should be placed on the table?
Six to twelve colors are usually enough to begin. More can be added later.
Should caregiver help color the page?
They can participate when the person enjoys sharing the activity. Help should not remove the person’s choices.
What happens when the page is not finished?
Save it for another day or leave it as it is.
Can markers be used?
Yes. Place a blank protective sheet behind the page.
Should the easiest page always be selected?
No. Interest, comfort, energy, and subject preference should guide the choice.
Disclosure:
This post may feature HoneySketch books or products. If you purchase one of our books through a link on this page, HoneySketch may earn royalties or income from that sale at no extra cost to you.